
Ombrè Canvas DIY

For about a year now, we've been slowly making decorating progress in our living space. We never quite found a piece of art for the living room that we've loved and it's always been an empty boring space. We've come close to purchasing art, but S makes fun of me all the time because I have vowed to never buy mass-produced art like you see for sale in HomeGoods (although, some of it has tempted me!). Why have something that everyone else has?! In early August, we moved to a new place and I decided once and for all to make a custom piece for myself! I wanted something that went with the existing color scheme in our apartment, yet felt like my style. Inspired by a late afternoon summer storm by the coast, I went with a moody blue palette for my ombrè canvas. I absolutely loved the result, the only thing is I wish it was bigger because it was so fun (and mindlessly easy) to make.
What you'll need:
- Canvas
- 2 paintbrushes (1 large, 1 skinny)
- Water cup
- Canvas (I used three oblong pieces)
- Acrylic paint (I recommend white and your color of choice, although I used an eggshell white for my piece)
- 1 hour of your time!
the process
step 1: choose your palette and workspace

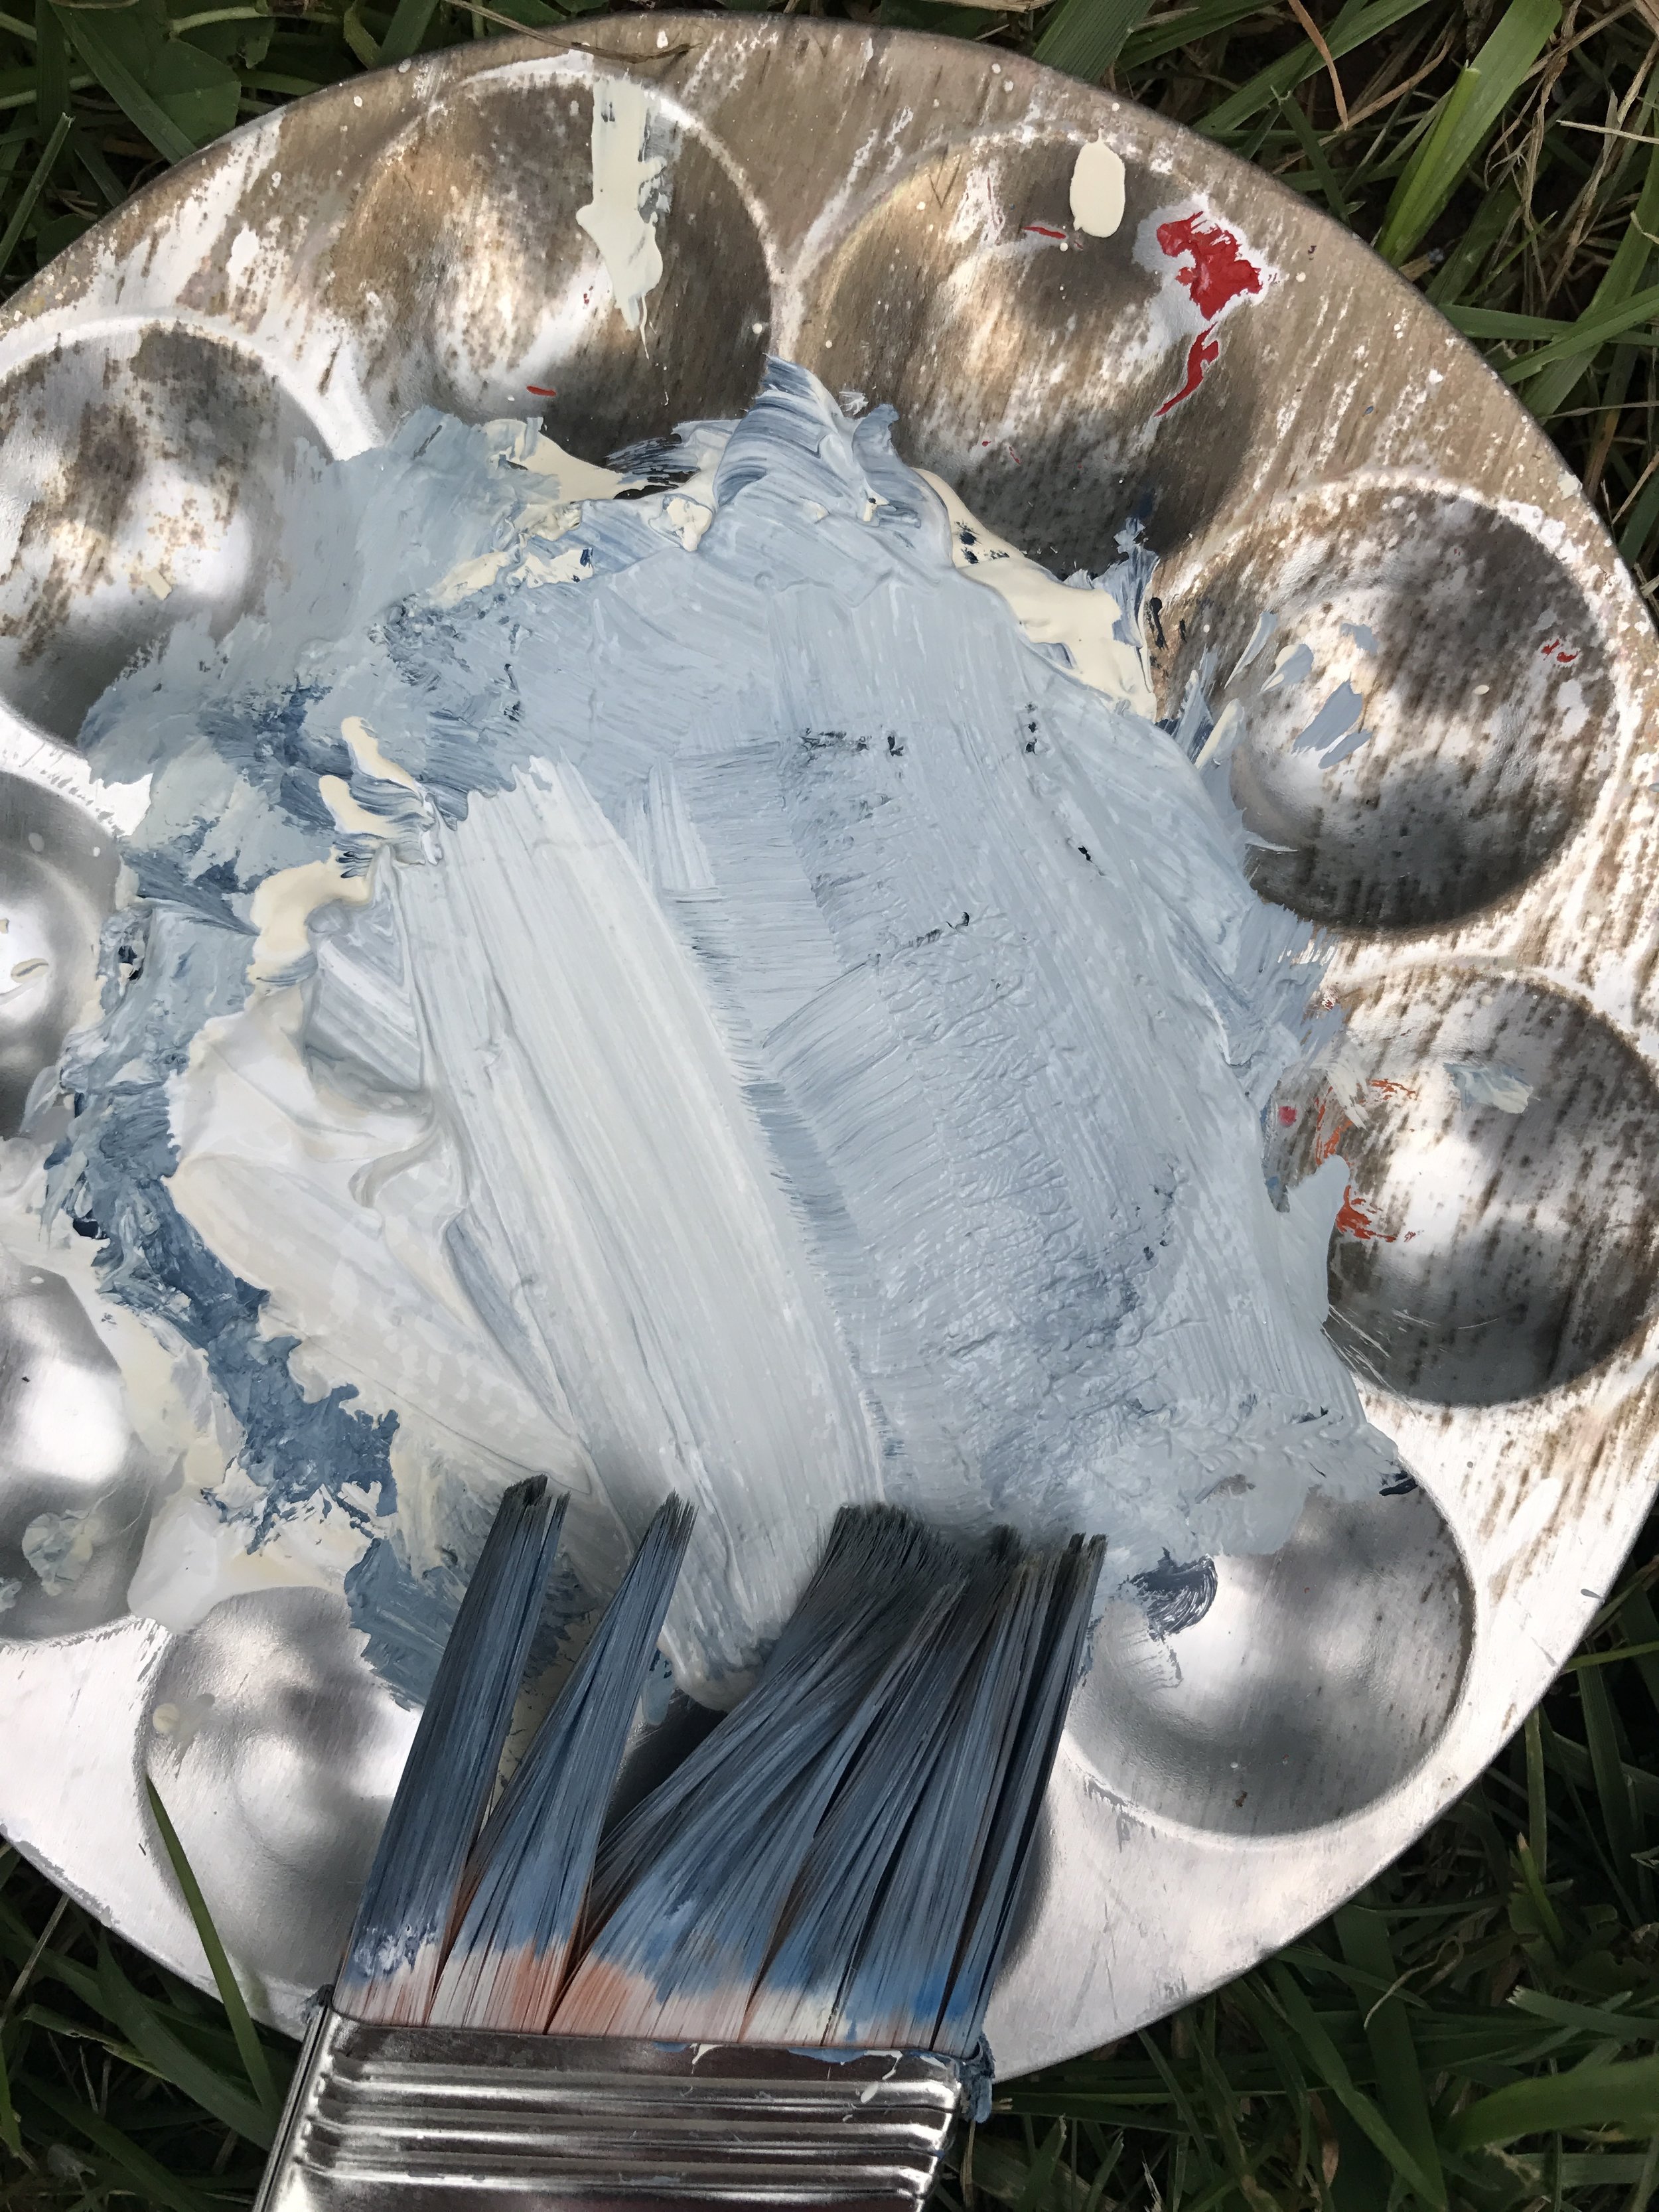
I made my canvas in my childhood backyard in the grass. I did this because I'm a messy painter and usually get specks of color everywhere. With my white/blue/navy color scheme, I decided it would be best to work outside. If you can't, I'd recommend getting a roll of cheap craft paper at the hardware store and laying it down wherever you're going to work.
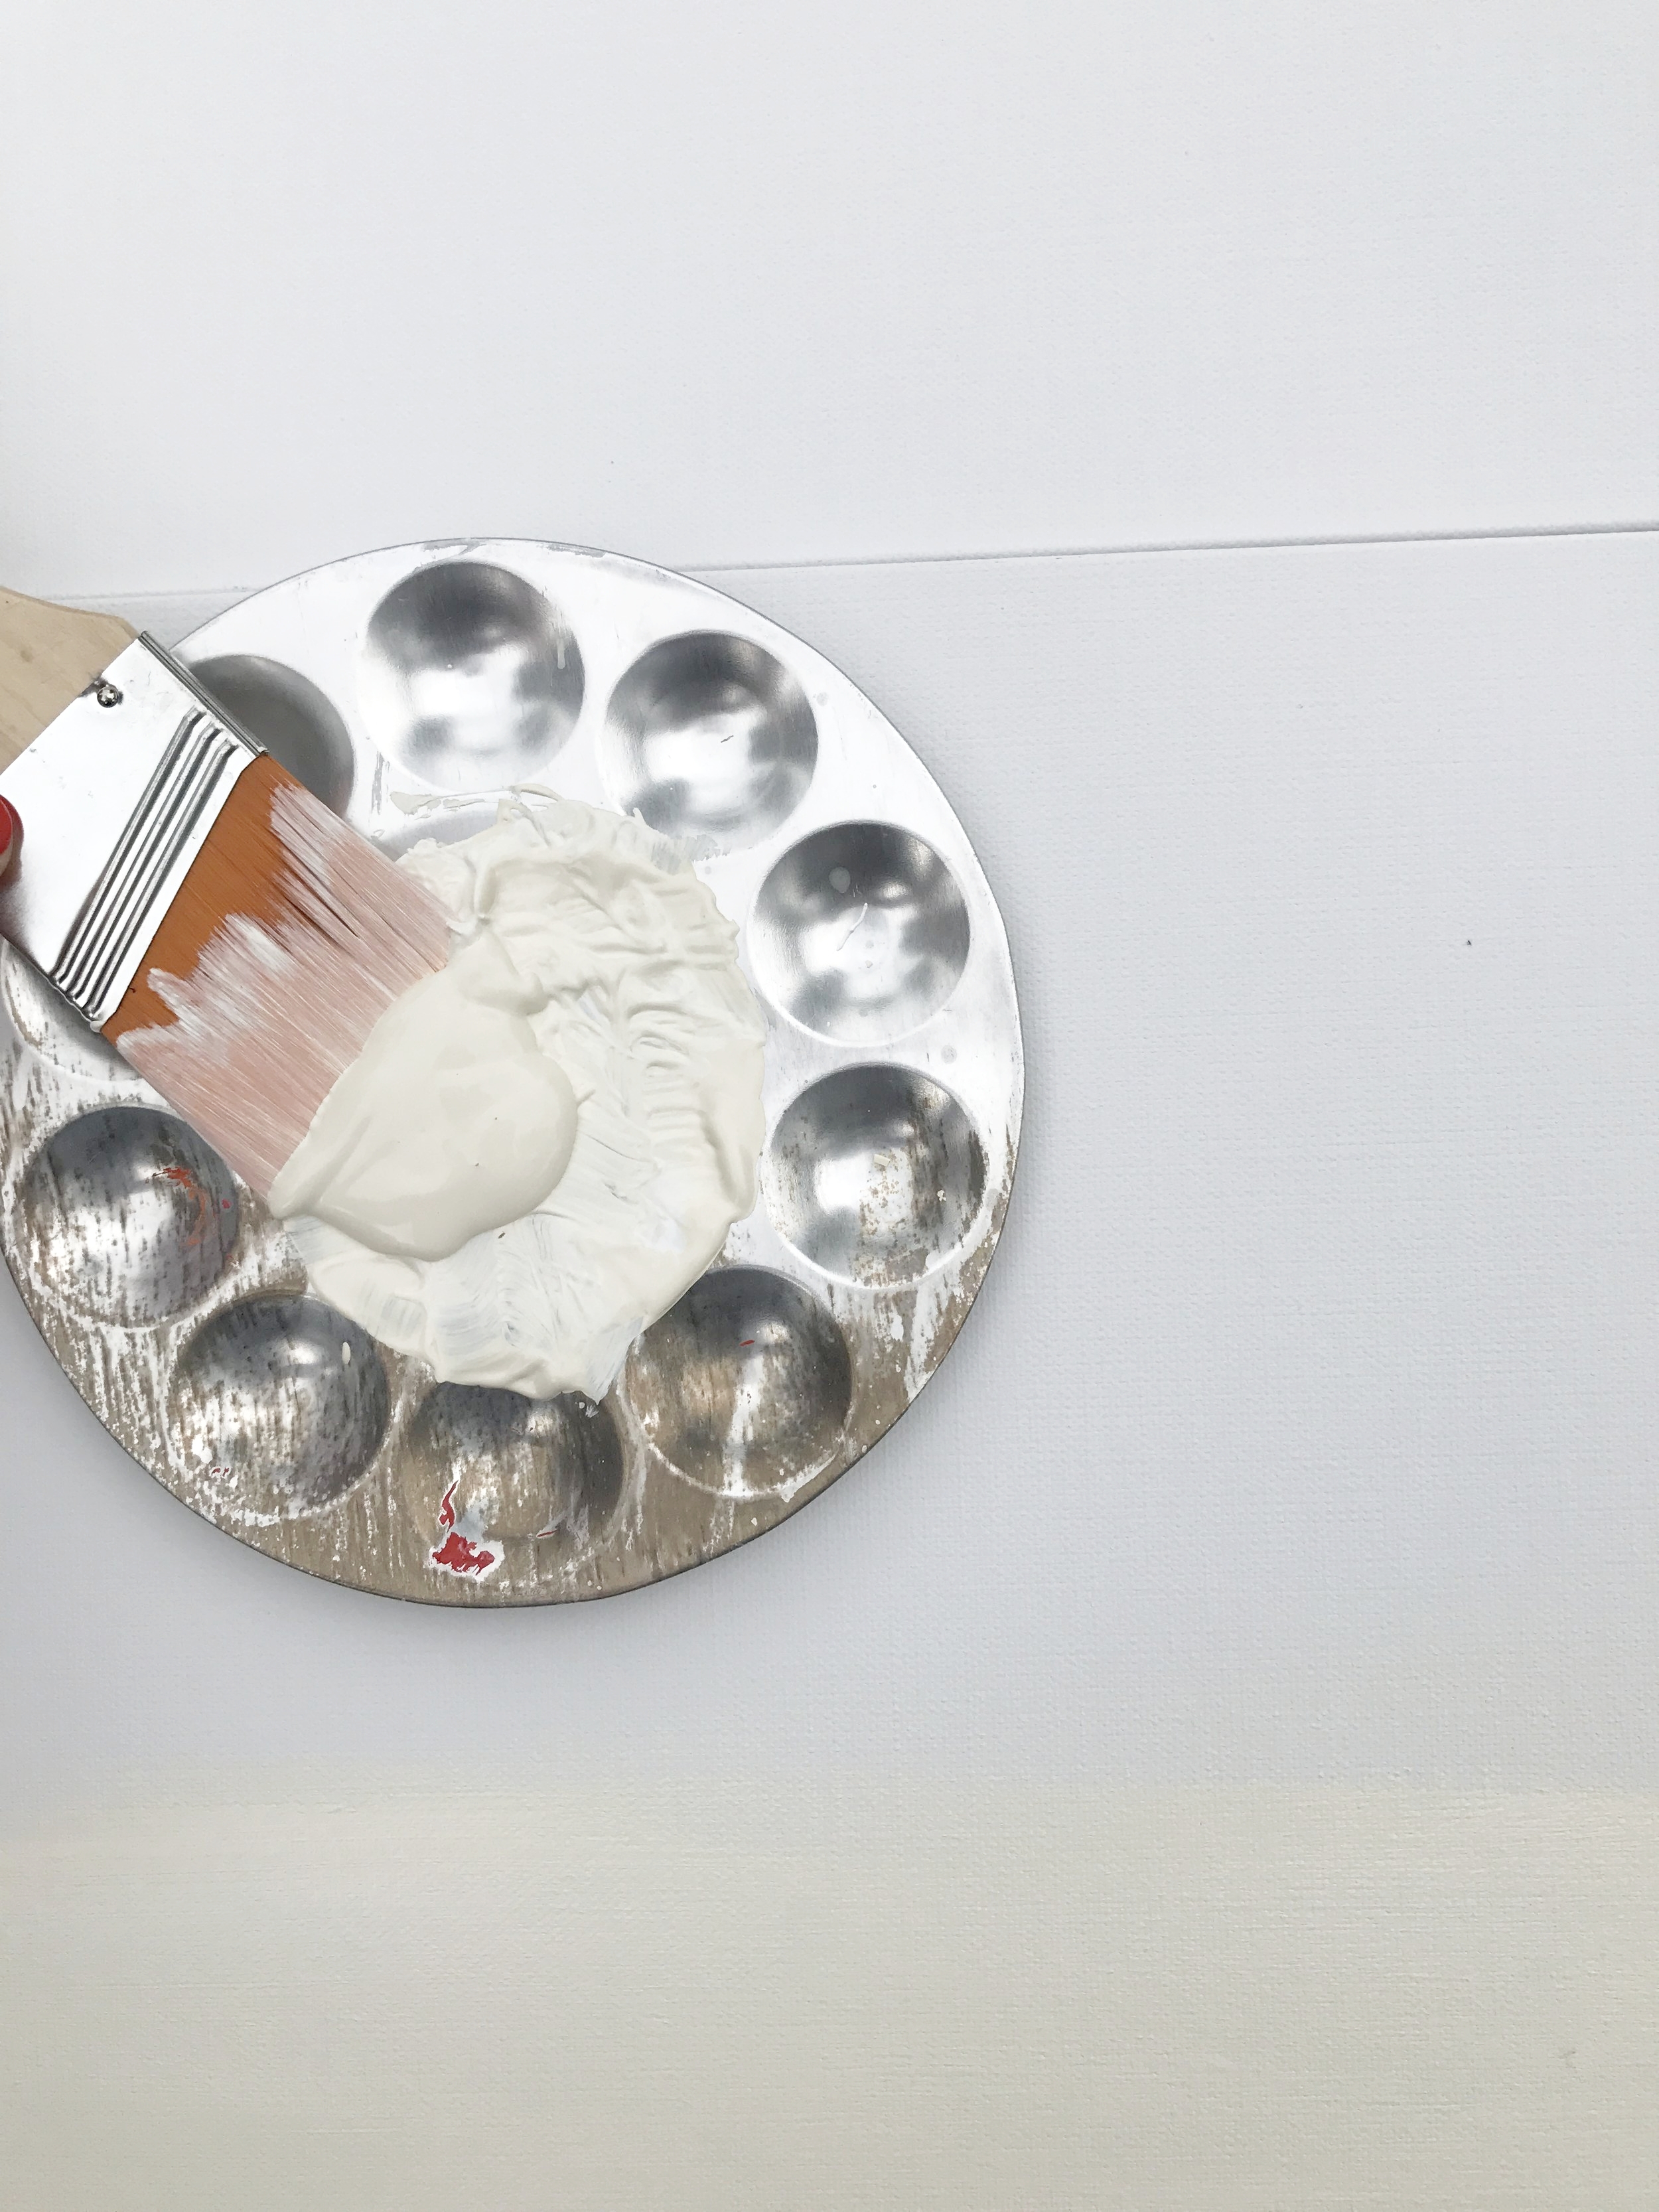
Ideally, you only need two colors to begin (disclaimer: I used four colors to mix up my darkest navy blue hue). When you have your color chosen, have a palette with a generous amount of white paint on one; then, use the colored paint on another palette. I constantly replenished my paint, so feel free to squeeze out a lot!
To create my stormy navy blue, I used Winston and Newton acrylics in phthalo blue, black, violet, and ultramarine.
step 2: apply the paint horizontally
Using your large paintbrush, start with the white at the top of your canvas. Make broad strokes horizontally (and continue that pattern throughout the entire process). With your smaller brush, paint the top side of your canvas so there's a seamless continuation of color.

Acrylic paint dries quickly, and ombrè is all about blending (white it's wet). So, dab a little bit of color onto your mostly white paintbrush, and brush horizontally. Under your white, blend a little of your color. It should be super pale for now - you'll build up intensity in the next step. If you are running low on paint and you need to dab a little bit of water onto your brush to ease the blending, that's ok! I would try to refrain from too much water, because it dilutes the color quite a lot.
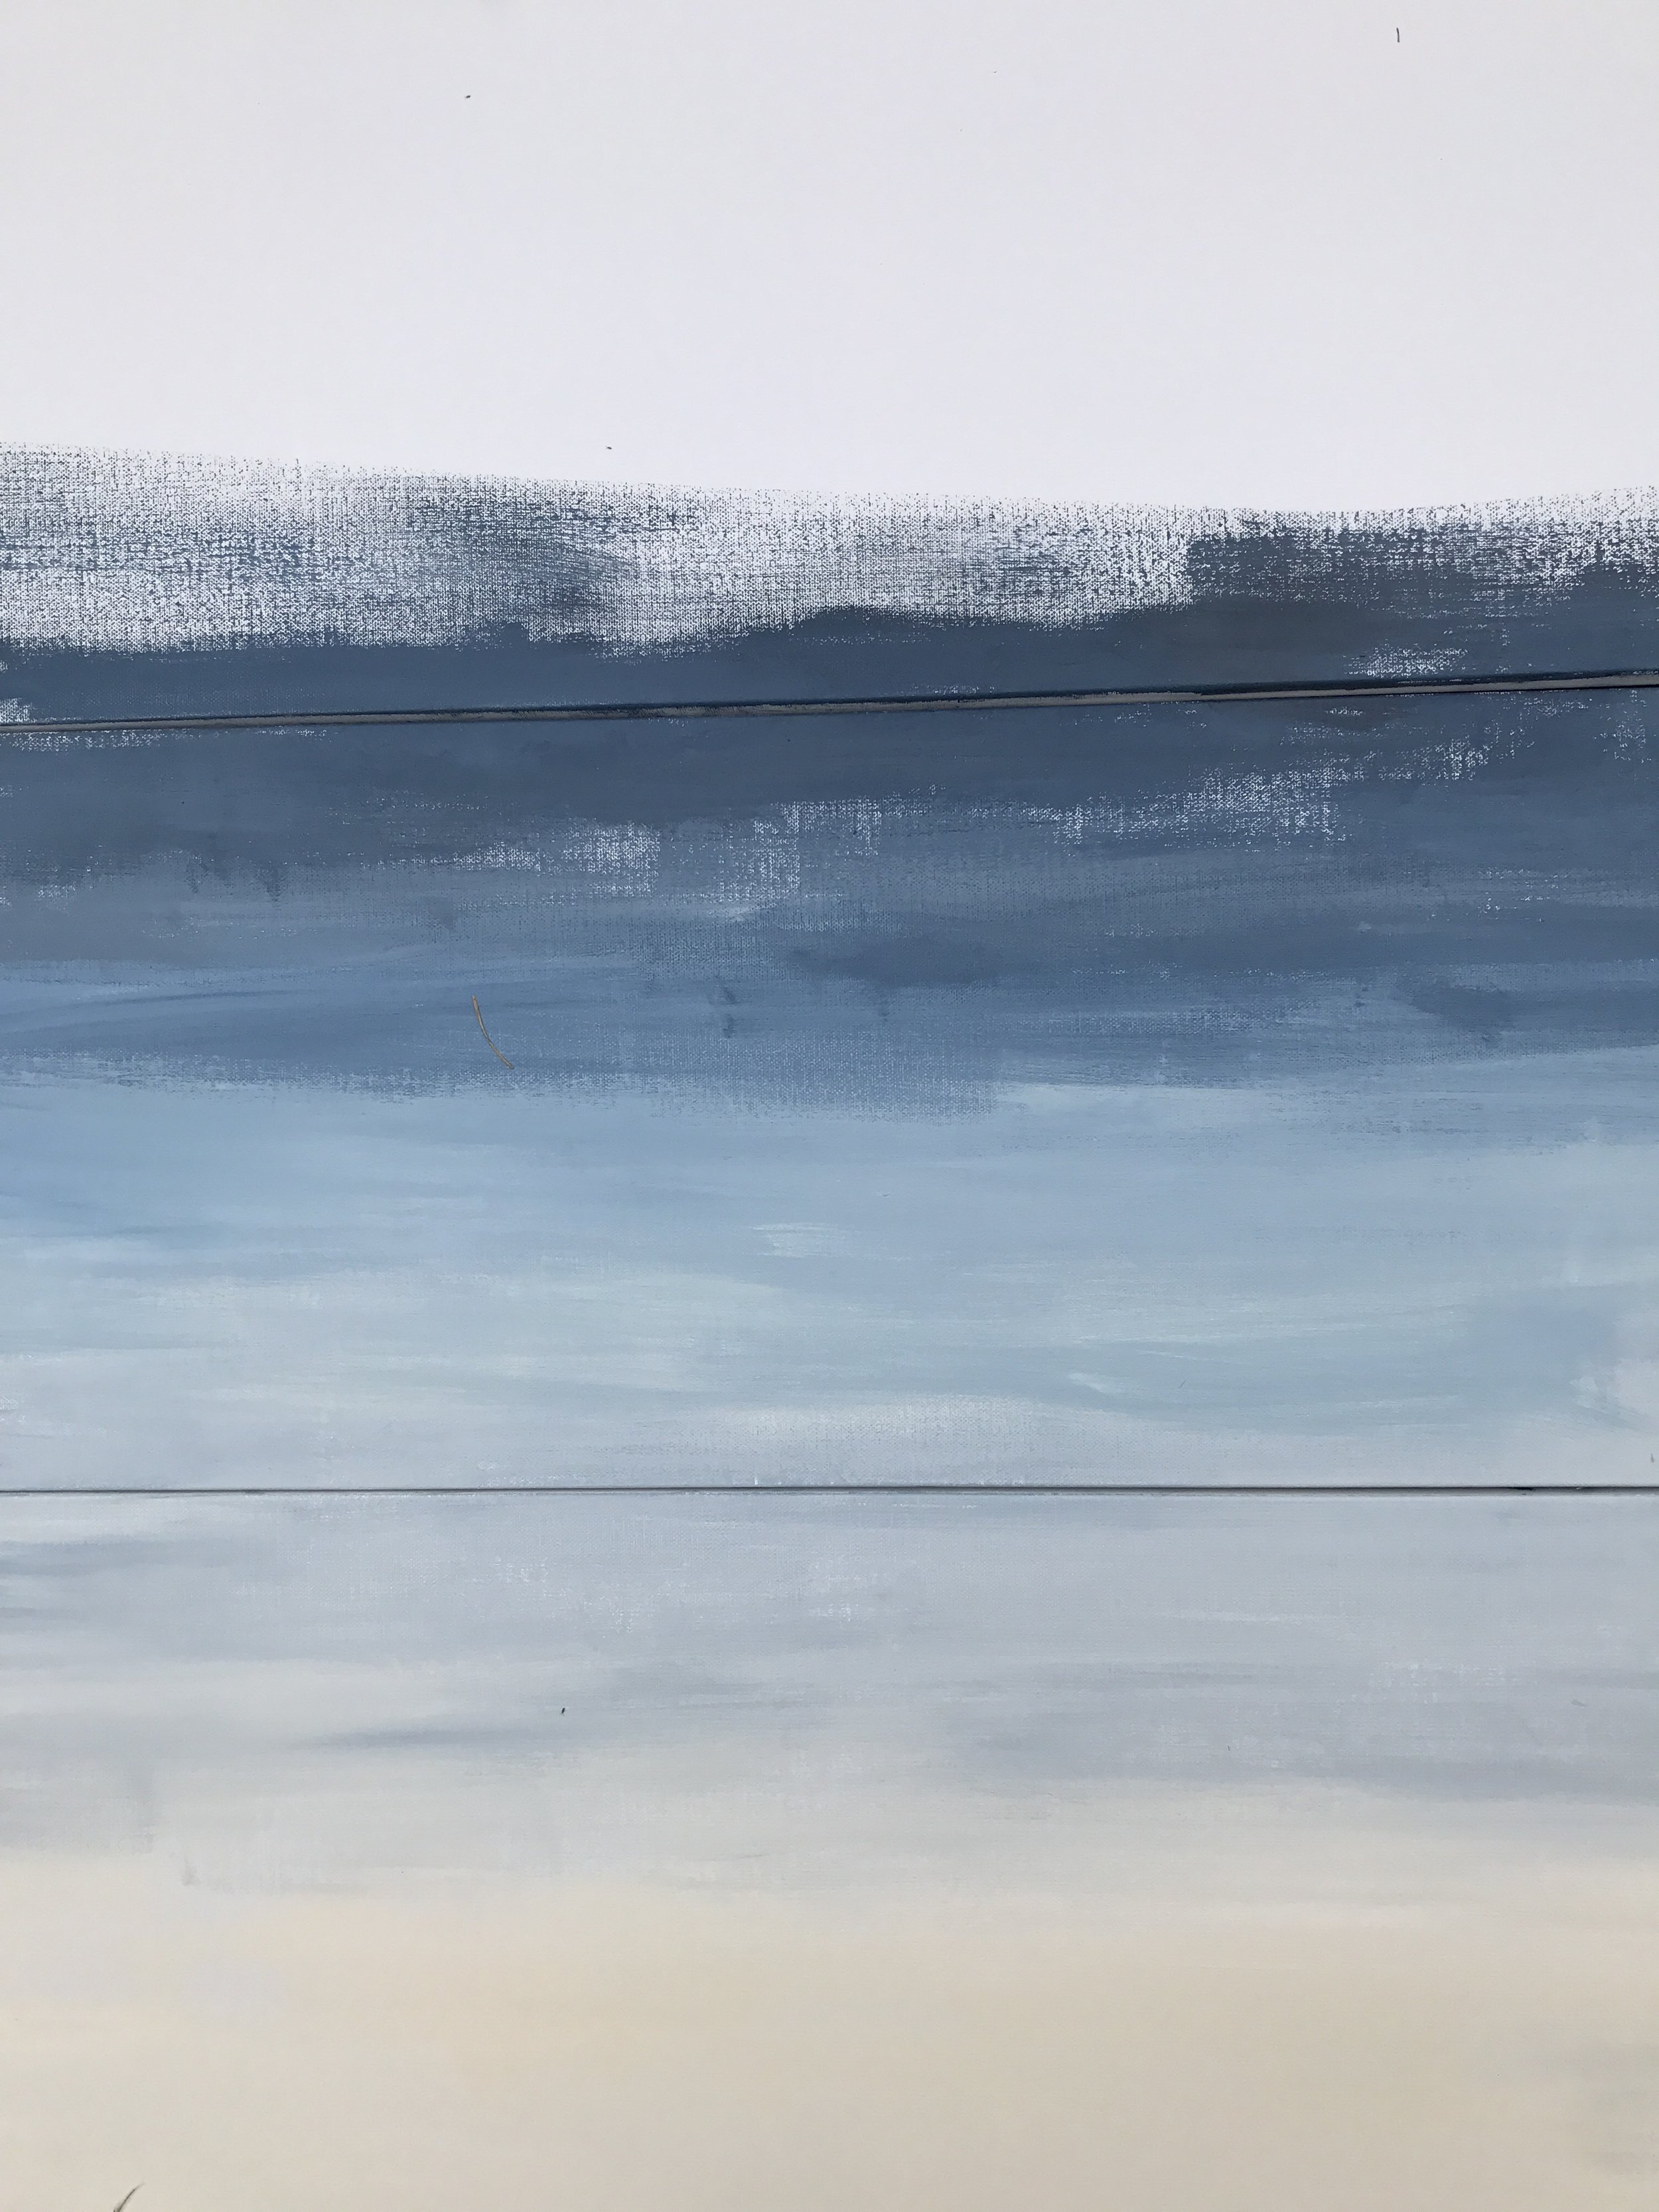
step 3: gradually build up intensity
As you progress down your canvas, you should be dipping your brush into your colored paint more often. Less white is needed as you make your way through, because you don't want to whiten the color too much. Continue to gradually intensify your color until you reach the bottom. And here's a pro tip: don't forget to paint the sides of your canvas with your small brush, especially during the process, so you don't have to re-create that perfect shade at the end.
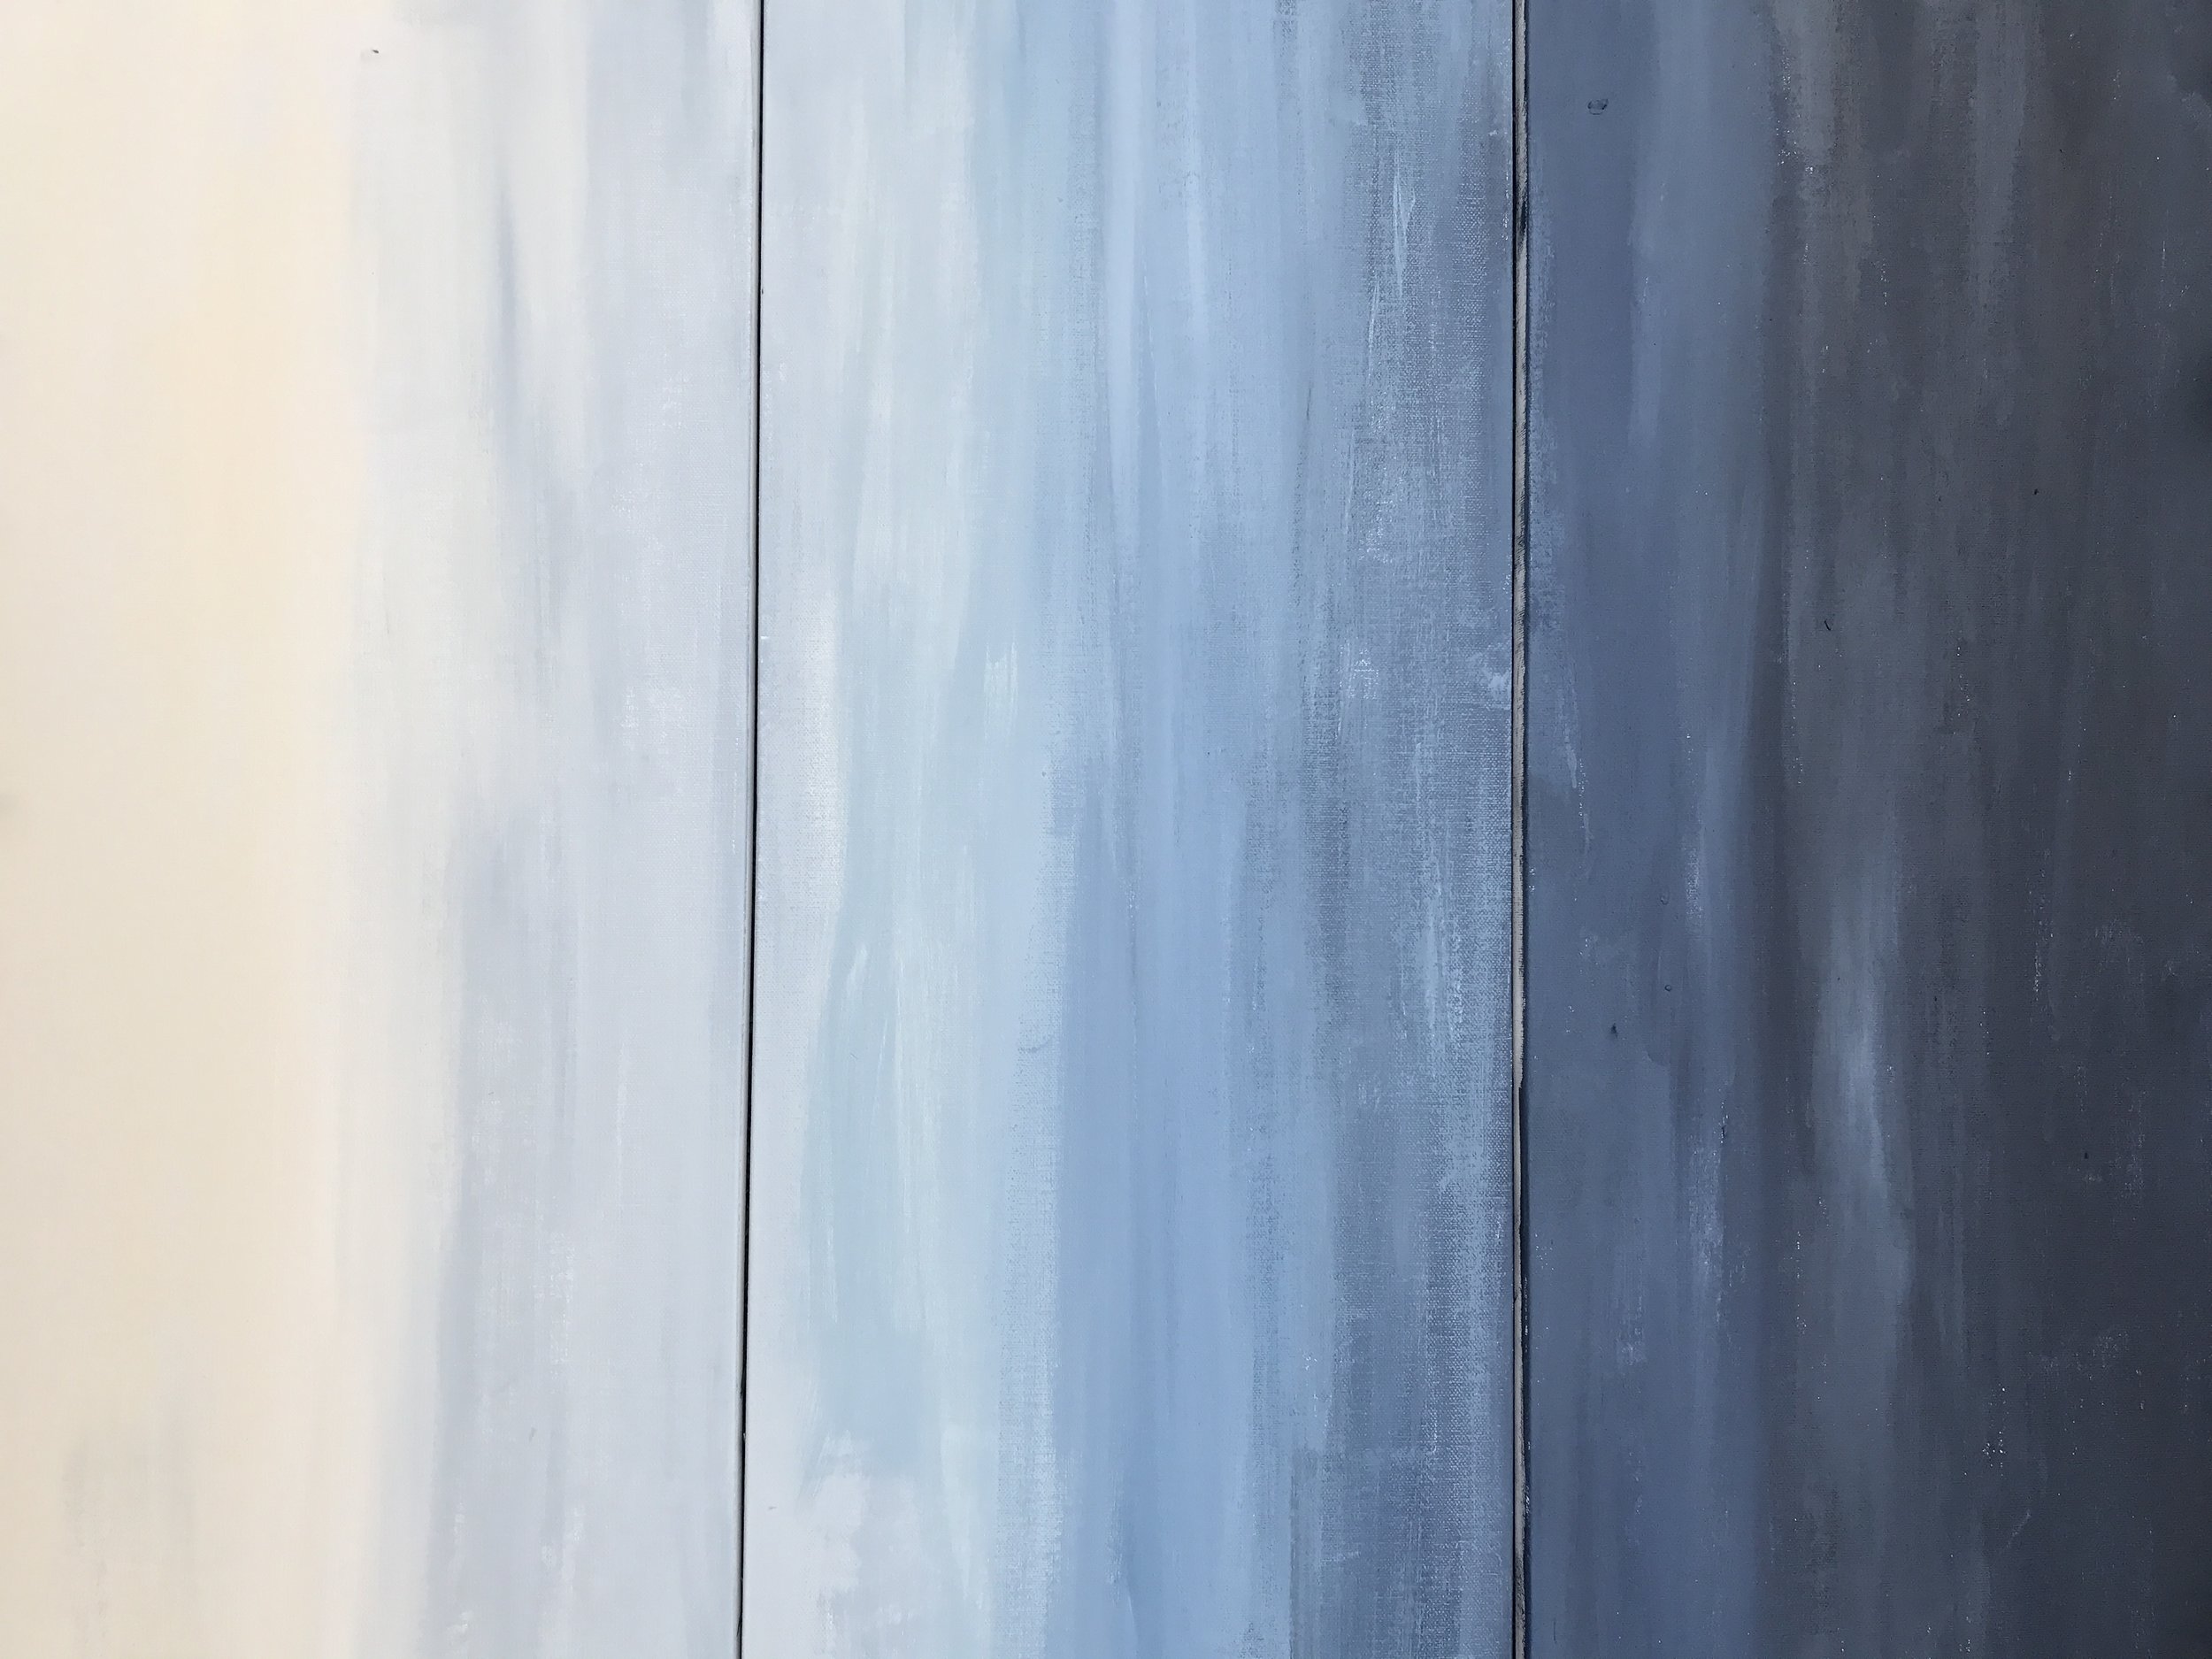
A vertical shot of the three canvases. It reminds me of a moody and stormy day at sea!
The Results


We decided to space the canvases apart. We used a credit card to measure the spaces consistently (haha!)

Good luck with your canvas! I highly recommend this project for a fun and crafty project that is easy and quick!
ciao, xo!