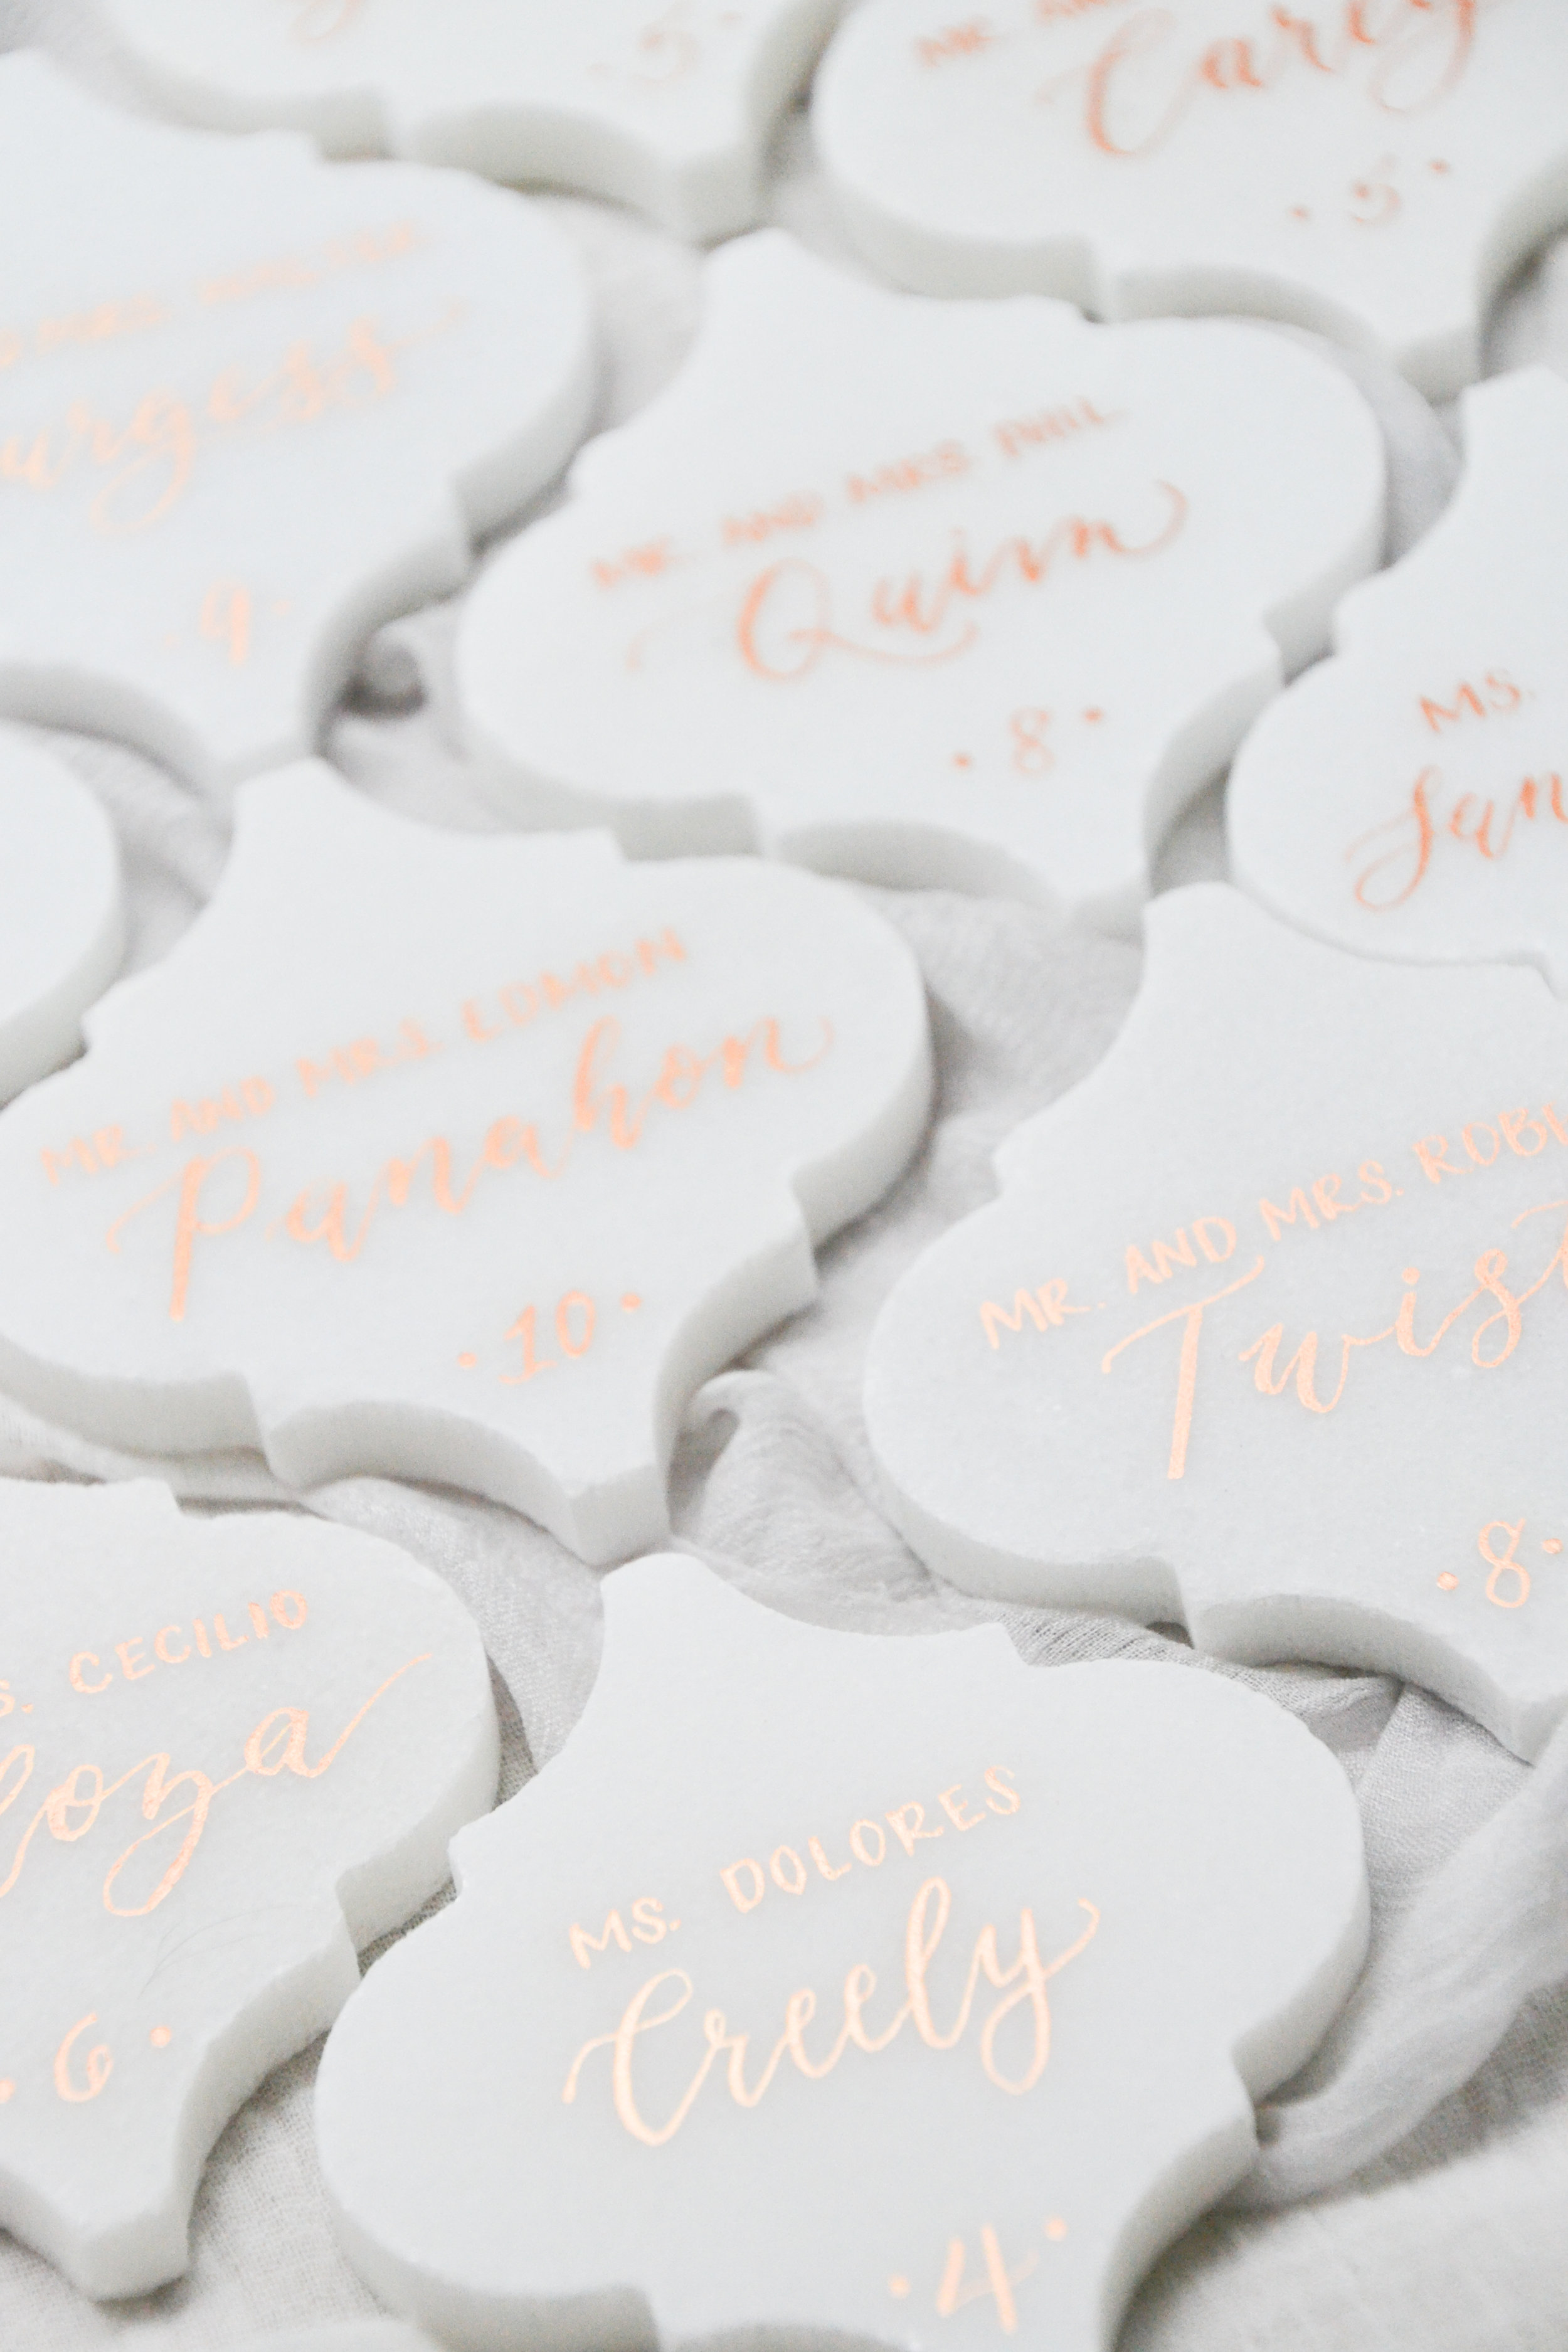
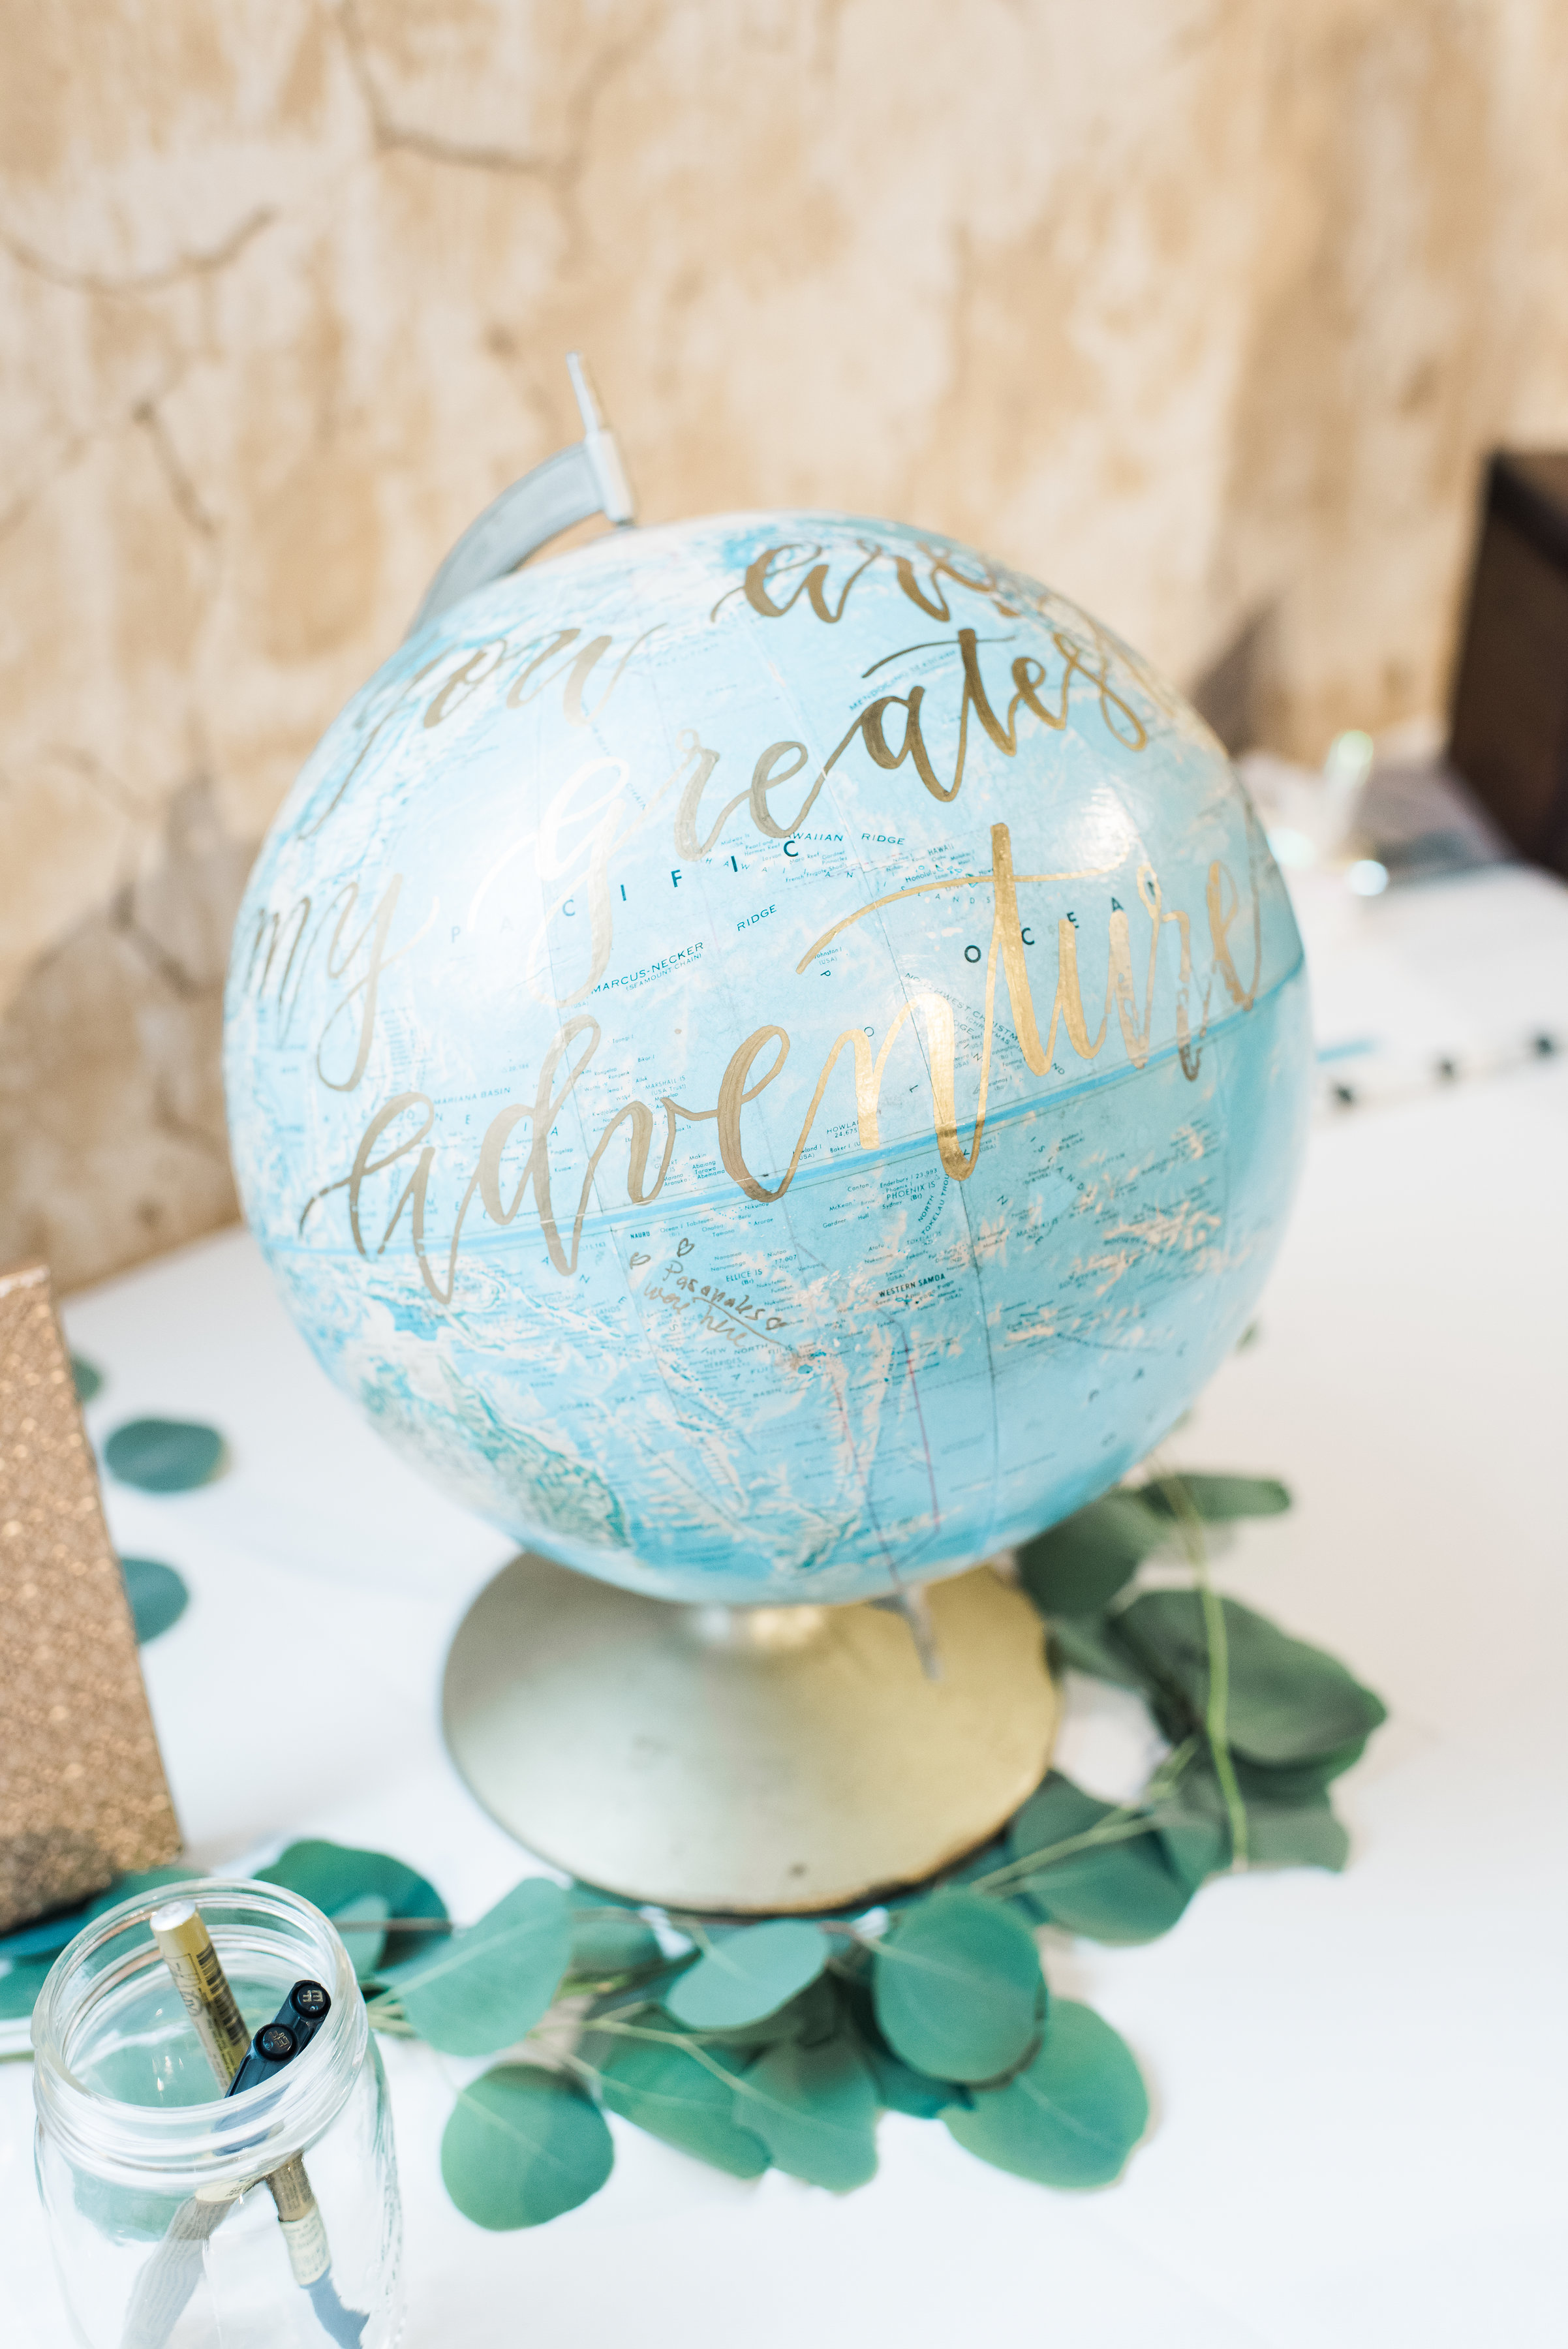
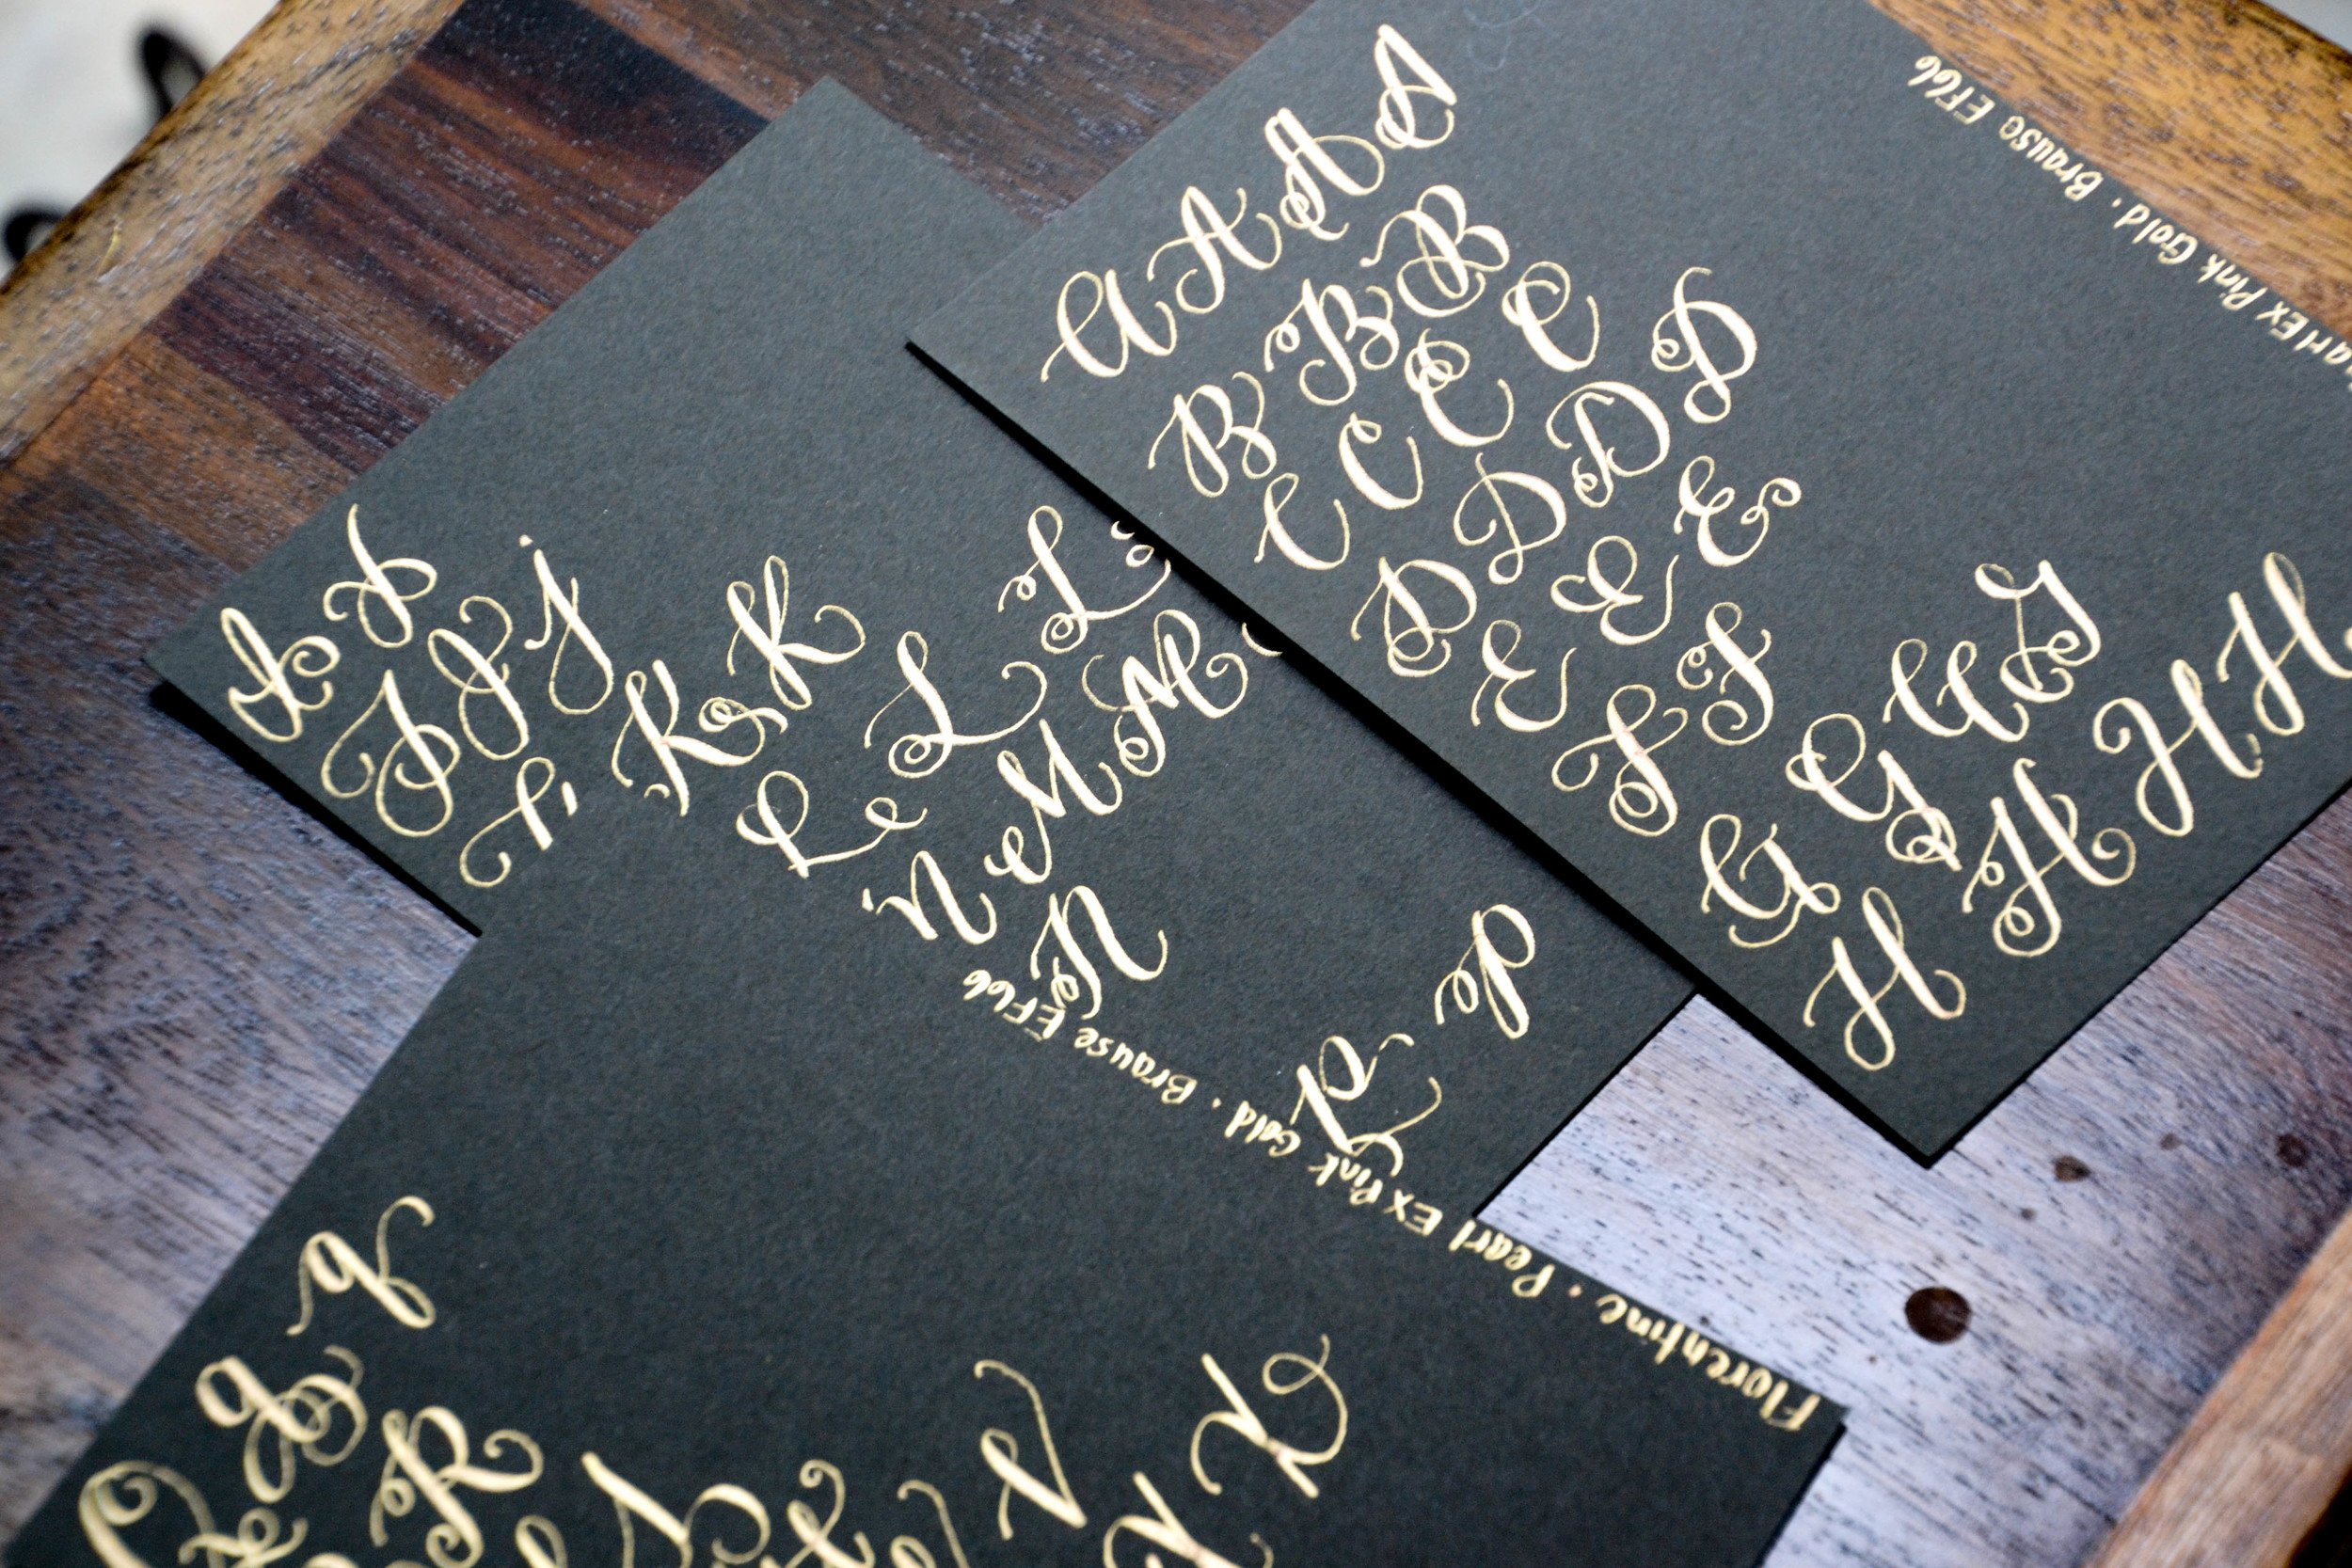
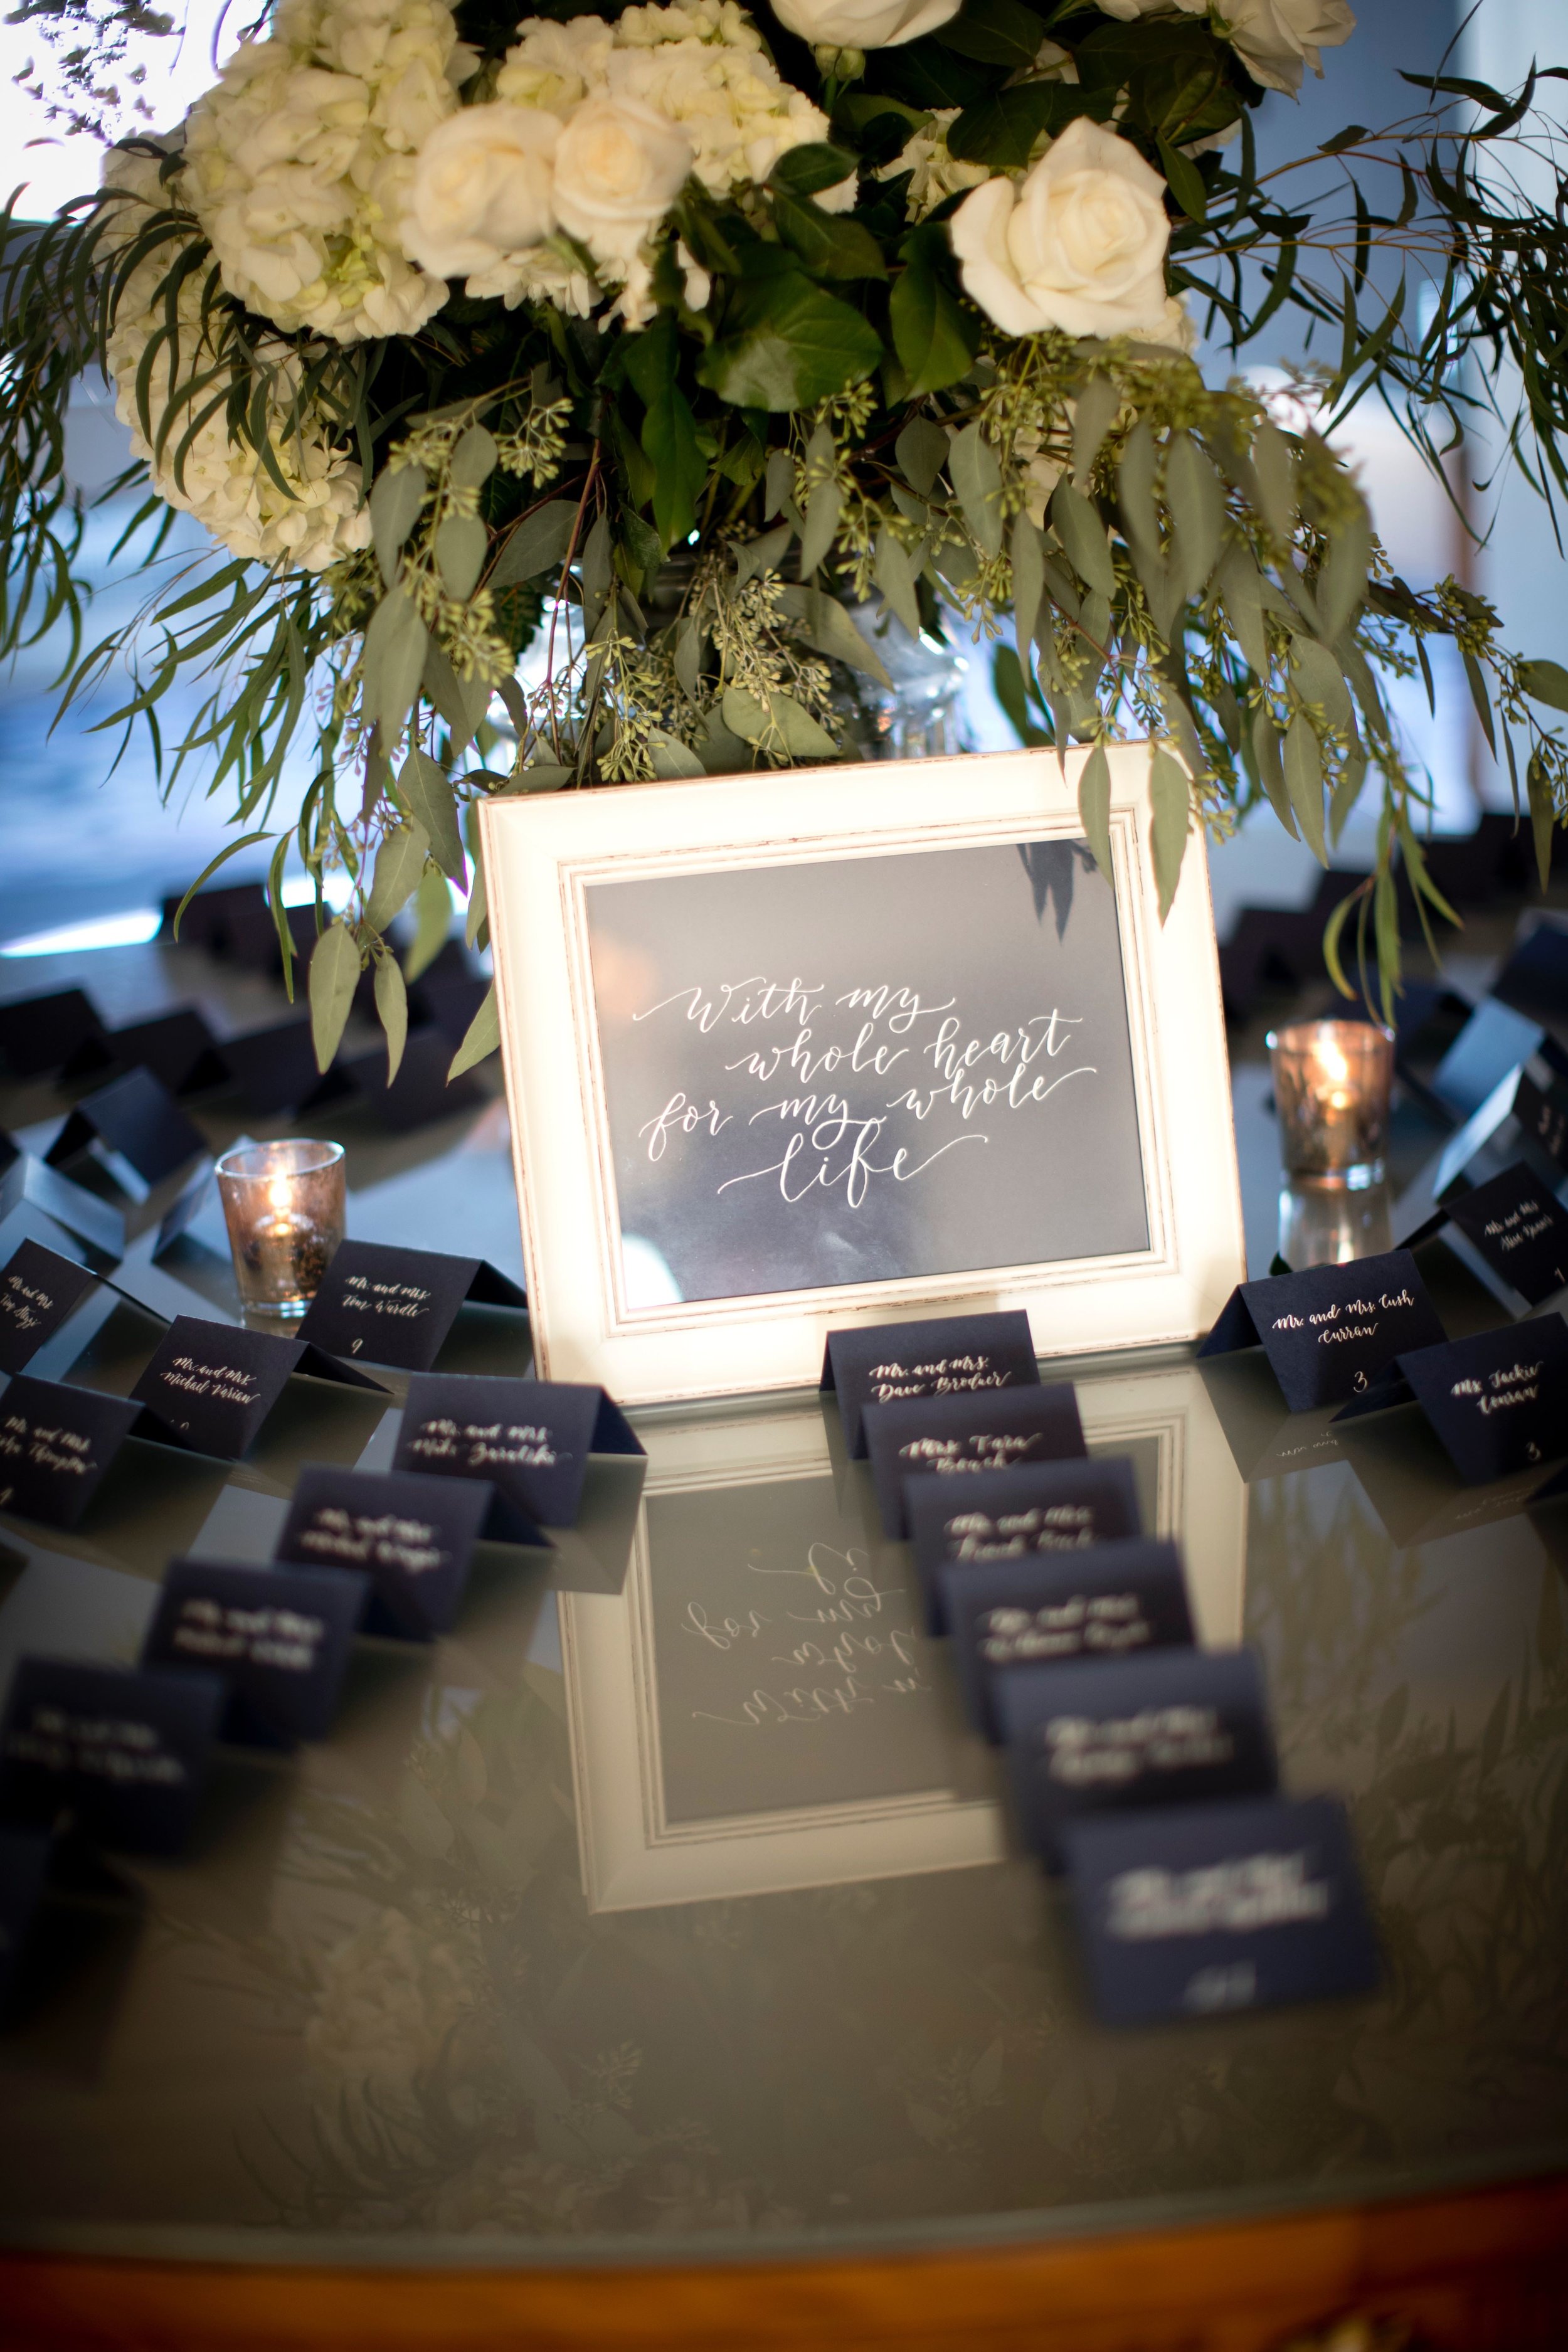
0
Skip to Content
Work With Me
Journal
Contact
About
Portfolio
A. Taylor Studio
Work With Me
Journal
Contact
About
Portfolio
A. Taylor Studio
Work With Me
Journal
Contact
About
Portfolio
View fullsize TCW-SamanthaJayPhoto-6 (1).jpg
View fullsize TCW-SamanthaJayPhoto-32.jpg
View fullsize TCW-SamanthaJayPhoto-10.jpg
View fullsize Audrey-Pat.jpg
View fullsize sep21-wedding-10.jpg
View fullsize sep21-wedding-21.jpg
View fullsize TCW-SamanthaJayPhoto-968.jpg
View fullsize TCW-SamanthaJayPhoto-969.jpg
View fullsize TCW-SamanthaJayPhoto-1027.jpg
View fullsize CustomInviteSuite-v2018-6.jpg
View fullsize CustomInviteSuite-v2018-14.jpg
View fullsize CustomInviteSuite-v2018-12.jpg
View fullsize Screen Shot 2018-03-21 at 9.48.47 PM.png
View fullsize greycustom.jpg
View fullsize Screen Shot 2018-03-21 at 9.48.38 PM.png
View fullsize Screen Shot 2018-03-21 at 9.49.11 PM.png
View fullsize Screen Shot 2018-03-21 at 9.49.24 PM.png
View fullsize greycustom3.jpg
View fullsize JamieTyler_LFP581.jpg
View fullsize may28_wedding-7.jpg
View fullsize may28_wedding-4.jpg
View fullsize wright01-9.jpg
View fullsize Martin Reardon Photography
View fullsize TSGW-SamanthaJayPhoto-596.jpg
View fullsize TSGW-SamanthaJayPhoto-805.jpg
View fullsize TSGW-SamanthaJayPhoto-807.jpg
View fullsize wrightedit.jpg
View fullsize super-copper-review.jpg
View fullsize DSC_0267.JPG
View fullsize super-copper-review-9.jpg
View fullsize IMG_2866.JPG
View fullsize IMG_2869.JPG
View fullsize IMG_0341.JPG
View fullsize IMG_2839.PNG
View fullsize DSC_0305.JPG
View fullsize DSC_0322.JPG
View fullsize Lauren Fair Photography
View fullsize Samantha Jay Photo
View fullsize Lauren Fair Photography
View fullsize calligraphy_portfolio-3.jpg
View fullsize Samantha Jay Photo
View fullsize ATAYLORSTUDIO_WEDDING-6.jpg
View fullsize IMG_3169.JPG
View fullsize JamieTyler_LFP565 (1).jpg
View fullsize Martin Reardon Photography
View fullsize wedding_ataylor_calligraphy-9.jpg
View fullsize ATAYLORSTUDIO_WEDDING-5.jpg
View fullsize JamieTyler_LFP580.jpg
View fullsize DSC_0309.JPG
View fullsize wedding_ataylor_calligraphy.jpg
View fullsize ATAYLORSTUDIO_WEDDING-2.jpg
View fullsize wedding_ataylor_calligraphy-5.jpg
View fullsize wedding_ataylor_calligraphy-6.jpg
View fullsize ATAYLORSTUDIO_WEDDING.jpg
View fullsize wedding_ataylor_calligraphy-8.jpg
View fullsize a. taylor studio-2.jpg
View fullsize 20170929_RachelAndDan_122.jpg
View fullsize let_the_sea-3.jpg
View fullsize 20170929_RachelAndDan_121.jpg
View fullsize edit2.jpg
View fullsize placecard-6.jpg
View fullsize Samantha Jay Photo
View fullsize xmas-calligraphy-11.jpg
View fullsize Samantha Jay Photography
View fullsize Aaren Lee Photography
View fullsize BrittChris-SamanthaJayPhoto-809.jpg
View fullsize calligraphy_portfolio-4.jpg
View fullsize Samantha Jay Photography
View fullsize leaf_calligraphy-4.jpg
View fullsize BrittChris-SamanthaJayPhoto-813.jpg
View fullsize leaf_calligraphy-2.jpg
View fullsize Samantha Jay Photo
View fullsize summertayl-12.jpg
View fullsize summertayl-18.jpg
View fullsize summertayl-16.jpg
View fullsize summertayl-20.jpg
View fullsize summertayl-22.jpg
View fullsize springweekend.jpg
View fullsize summertayl-23.jpg
View fullsize Lauren Fair Photography
View fullsize DSC_0716.JPG
View fullsize Lauren Fair Photography
 
see my creative journal


A. Taylor Studio

A seasonal lifestyle blog rooted in a love for imagery

est. 2015